
How to Quickly Create a Simple and Easy-to-Update Welcome Book for Your Airbnb Guests


Are you pressed for time and need to create a welcome book for your Airbnb guests quickly? Maybe you don’t have a clear idea of what kind of welcome book to create, or you don’t have any photos to include. Don’t worry! In this article, we’ll show you how to create a simple and easy-to-update welcome book that doesn’t require any fancy design skills, won’t use up all your printer ink, and can be updated easily later on.
How to Quickly Create a Simple and Easy-to-Update Welcome Book for Your Airbnb Guests
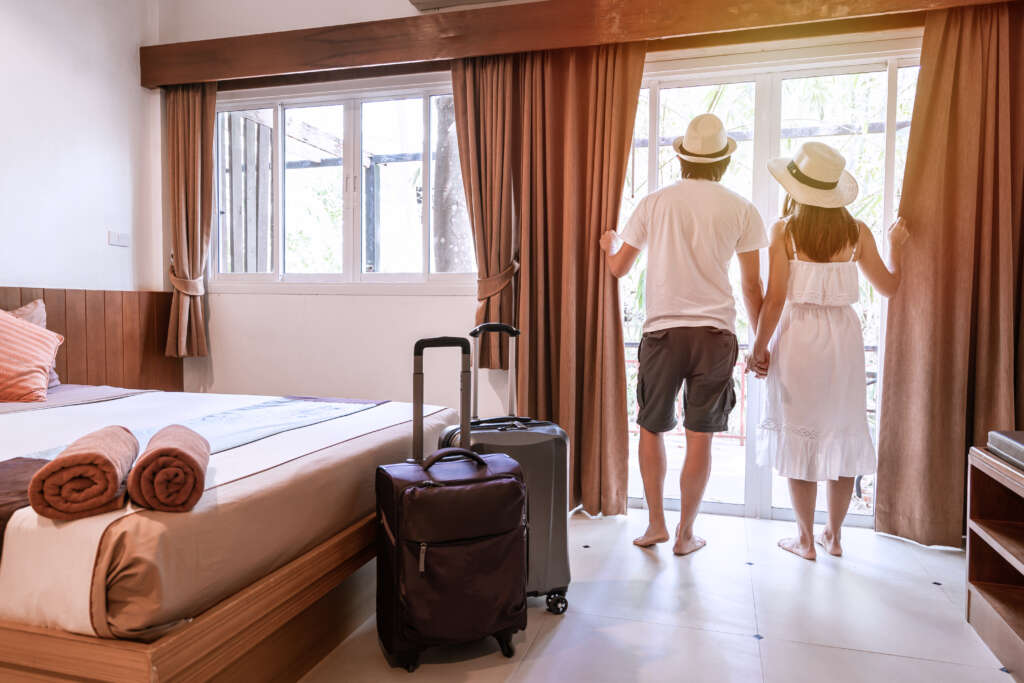
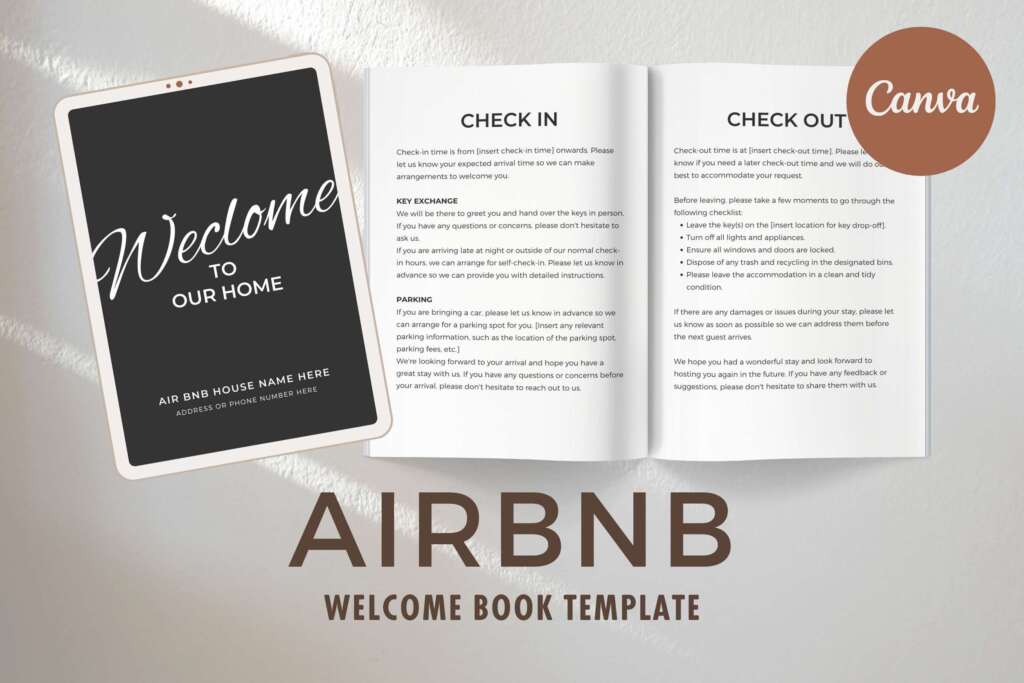
An Airbnb welcome book is a guidebook that hosts provide for their guests staying at an Airbnb property. It typically includes information about the property, local area, and important instructions or rules for guests to follow during their stay.
The welcome book can be in digital or print format and is intended to help guests feel more comfortable and informed during their stay. Some common elements of an Airbnb welcome book may include details on how to operate appliances, nearby restaurants and attractions, check-in and check-out procedures, emergency contact information, and house rules. The welcome book can be customized by the host to include any relevant information they believe would be useful to their guests.
Step 1: Choose a Template

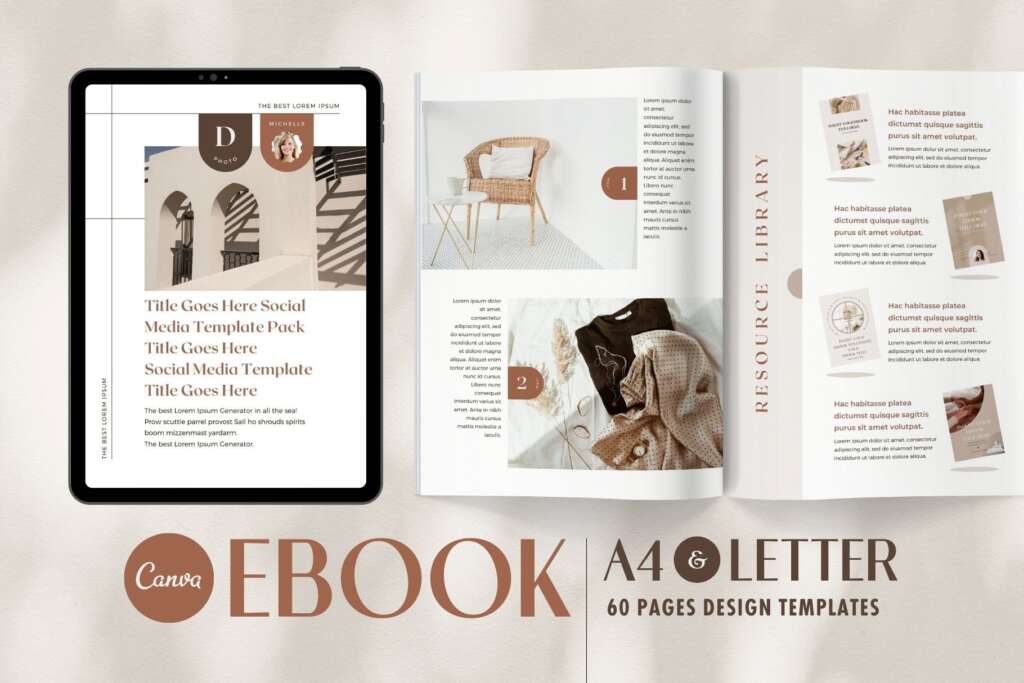
To save on printer ink and make the welcome book easy to update later, we recommend using a text-only Canva template. You can find such templates on websites like 18 Airbnb Welcome Book Templates Canva Text Only. These templates are already formatted with headings, subheadings, and bullet points, making it easy for you to enter your own text and organize your content.
What is Canva?
Canva is a graphic design platform that allows users to create various visual content easily and quickly. It offers a drag-and-drop interface, pre-designed templates, graphics, and fonts, as well as photo editing and collaboration features. It has both free and paid versions, and it is widely used by businesses, marketers, educators, and individuals worldwide.
Step 3: Organize Your Content

Before you start designing your welcome book, it’s important to organize your content so that it’s easy for your guests to follow. And with Canva, you can not only organize your content, but you can also rearrange, duplicate, add, and delete pages with ease.
To organize your content in Canva:
- Open a new or existing design.
- Click on the “Pages” tab on the left-hand side of the screen.
- You can then click and drag the pages to rearrange them in the desired order.
- To duplicate a page, simply click the three dots on the page thumbnail and select “Duplicate.”
- To add a new page, click the “+” icon at the bottom of the Pages panel and choose the type of page you want to add (e.g., a blank page or a pre-designed template).
- To delete a page, click the three dots on the page thumbnail and select “Delete.”
By using these simple features, you can easily organize and customize your welcome book to fit your specific needs and preferences. So go ahead and play around with the page order, add new pages, and remove any unnecessary content until you’re happy with the overall layout and flow of your welcome book.
Step 2: Focus on Essential Information

When creating your welcome book, it’s important to focus on the essential information your guests will need to know during their stay. And with Canva’s pre-designed templates, you can quickly and easily create a professional-looking welcome book without having to start from scratch.
Canva’s welcome book templates include example text that you can easily replace with your own information. This can save you a lot of time and effort in writing out everything from scratch. You can simply select a template that fits your style and needs, and then modify the text to match the specifics of your property and local area.
By using Canva’s pre-designed templates, you can focus on the essential information and personalize it to your specific needs. This can save you time and make the process of creating a welcome book much easier and more efficient.
Step 4: Save and Share Digitally

Once you’ve finished creating your welcome book, it’s time to save it and share it with your guests. Canva makes it easy to save your welcome book as a PDF, which you can then share with your guests via email or other digital platforms.
To save your welcome book as a PDF in Canva:
- Click the “Download” button in the top right corner of the screen.
- Select “PDF – Print” as the file type.
- Choose your preferred page size and orientation.
- Toggle on the “Crop marks” and “Bleed” options if you plan to have your welcome book professionally printed.
- Click “Download.”
But that’s not all! If you want to include clickable links in your welcome book, such as links to local attractions or restaurants, Canva makes it easy to do so. Simply create a hyperlink in your design by highlighting the text or image you want to link, and clicking on the “Link” button in the toolbar. You can then enter the URL you want to link to, and your guests will be able to click on the link directly from the PDF.
So not only can you create a beautiful welcome book in Canva, but you can also make it interactive and user-friendly for your guests.
Step 5: Print Your Welcome Book (Optional)
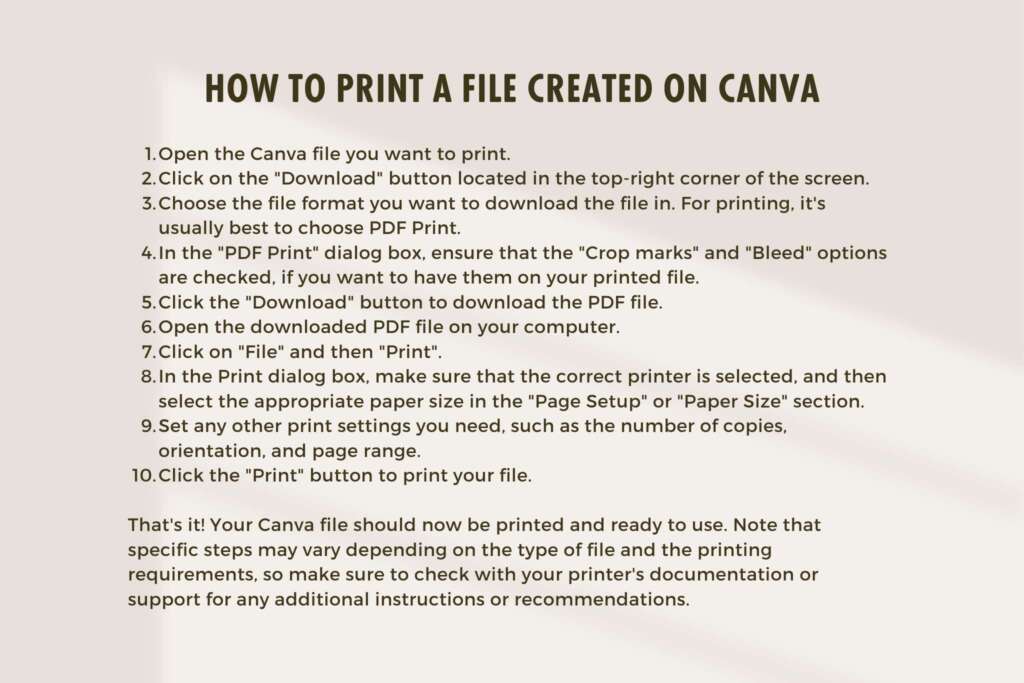
While sharing your welcome book digitally is a great way to save on printing costs and make updates easier, some guests may prefer a physical copy. In that case, you can choose to print your welcome book using a home printer or professional printing service.
If you decide to print your welcome book, there are a few things to keep in mind to save on printer ink and paper costs. First, make sure to choose a simple font and a black and white color scheme to minimize ink usage. You can also adjust the printing settings to print double-sided and reduce the margin size to fit more content on each page.
Alternatively, you can use a professional printing service like FedEx or Staples to print your welcome book. These services offer affordable printing options, and you can choose from a variety of paper options and binding styles.
Conclusion
Creating a welcome book for your Airbnb guests doesn’t have to be a time-consuming or expensive task. By using a text-only Canva template, focusing on essential information, organizing your content, and sharing your document digitally, you can create a useful and informative welcome book that your guests will appreciate. And if you choose to print your welcome book, you can follow these simple tips to save on printing costs and create a professional-looking document.

Canva Social Media Bundle - 4500+ Templates & Free Update
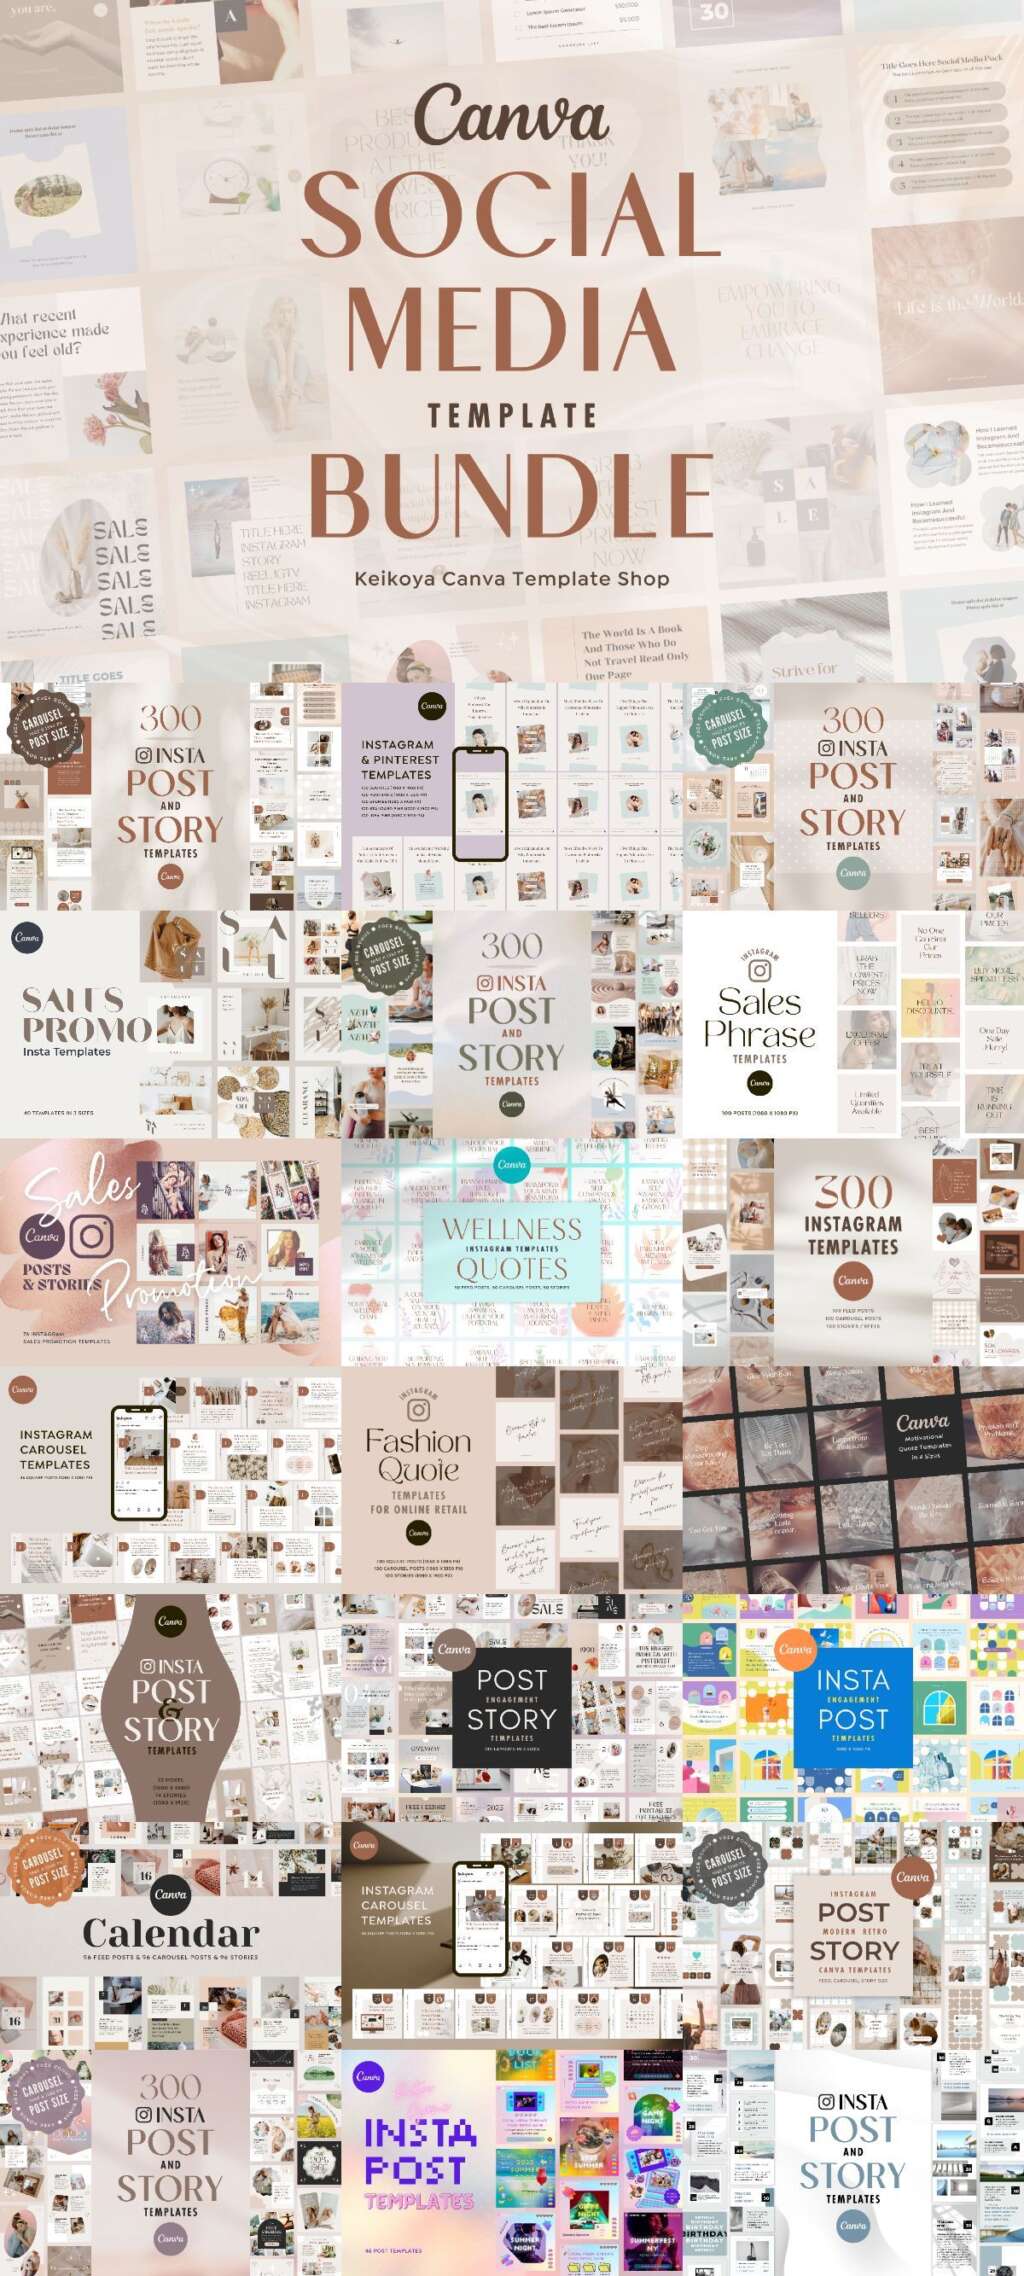
Get Keikoya’s original 4500+ Canva Instagram templates for only $69.80, saving over $500! Purchase today and you will get all the future updates for free!
For more information on how to use Keikoya's design resources, please read the license page.